Renting a car in Queenstown is the easiest way to explore wineries, alpine scenery, and filming locations from Lord of the Rings. How to choose the best.
Queenstown is one of New Zealand’s most beloved destinations — and one of the few places where you can bungee jump before lunch, sip pinot noir by dinner, and wind up stargazing at night while half-seriously plotting a move to the South Island.
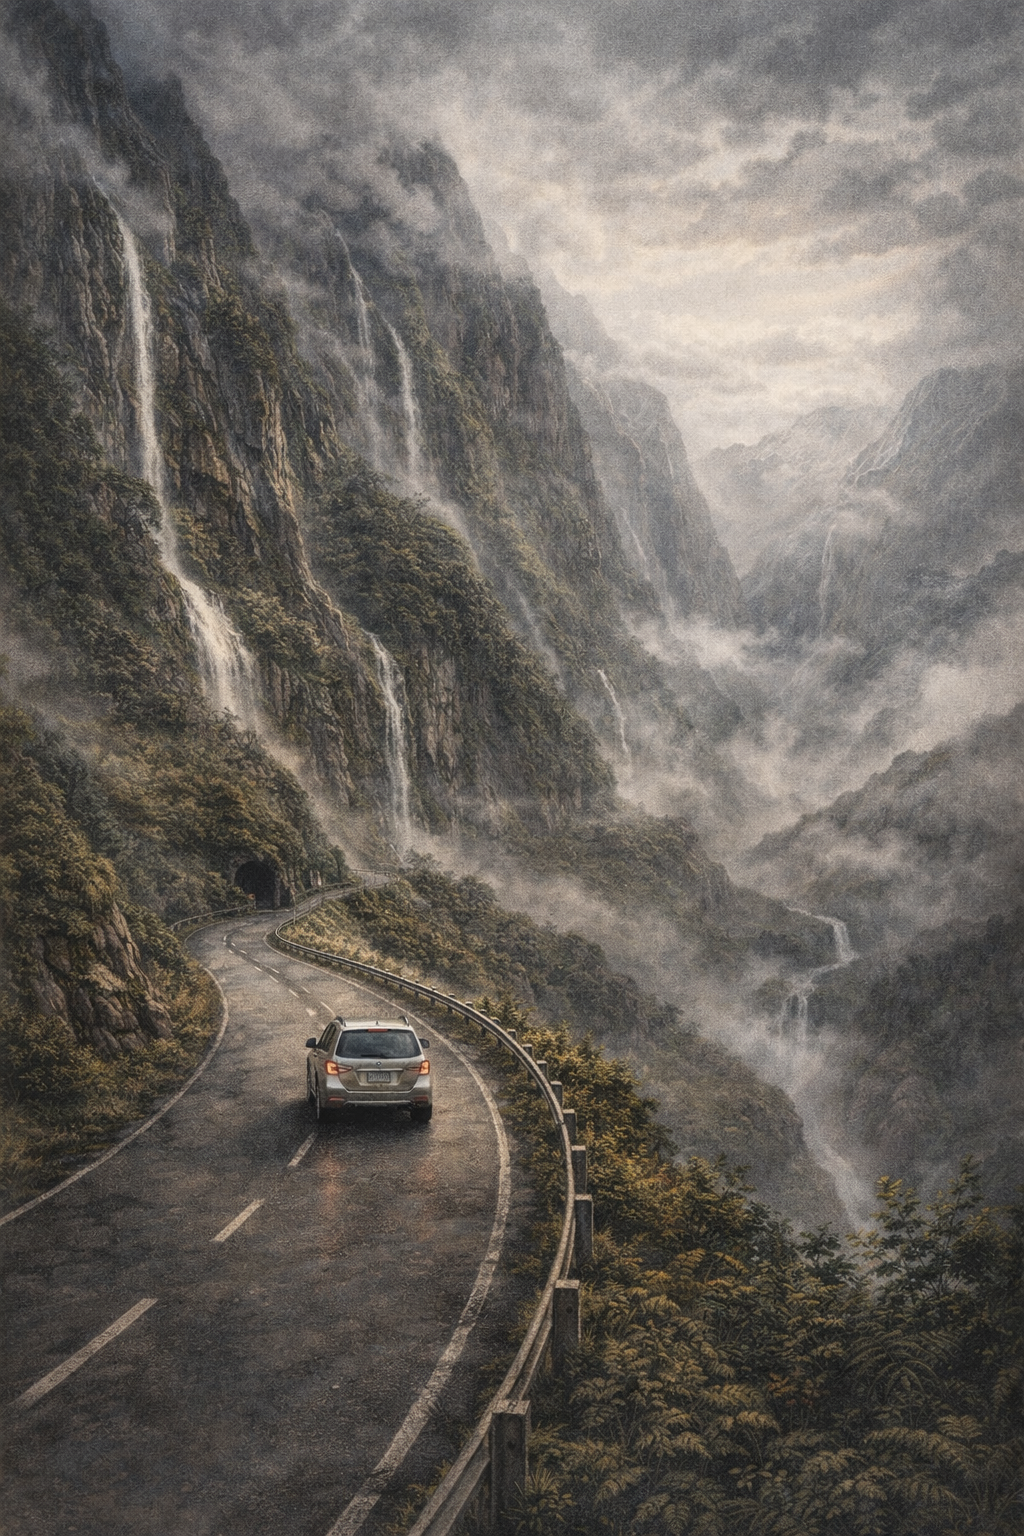
Set against Lake Wakatipu and backed by the Southern Alps, Queenstown’s “Adventure Capital of the World” title isn’t marketing fluff. Between skiing, jet boating, hiking and visiting Lord of the Rings filming sites, there’s a lot to do — with most of the best beyond the town center.
“Queenstown’s “Adventure Capital of the World” title isn’t marketing fluff.
Between skiing, jet boating, hiking and visiting Lord of the Rings filming sites, there’s a lot to do — with most of the best beyond the town center.”
At 3,361 square miles (8,705 square kilometers), Queenstown isn’t enormous, but the highlights are spread out. Renting a car gives you the flexibility to get to wineries, lakes, view points and small villages without relying on tours or buses.
What to Look for in a Queenstown Rental Car
The first price you see isn’t the whole story. Ski season, insurance add-ons, and whether you’re picking up at the airport or in town can make a big difference. It helps to think through a few basic questions before you click “reserve”:
How much does it cost to rent a car in Queenstown?
Prices vary by season, car type and availability. High summer and ski season run higher.
What insurance do I need for driving in Queenstown?
Extra coverage is recommended for mountain roads and winter driving conditions.
Should I rent a compact car or an SUV in Queenstown?
Compacts work for town and wineries; SUVs are better for ski trips and road adventures.
Is Queenstown Airport the best place to pick up a rental car?
Yes — it’s efficient, small, and most major companies operate directly on site.
Do I need roadside assistance?
Roadside support adds peace of mind for alpine roads and longer drives.
Answering these up front makes comparing companies easier and keeps surprises to a minimum.

The Best Car Rental Companies in Queenstown
Here are six options across price, convenience and service — without fluff.
1. Go Rentals
Topping the list is Go Rentals. They’re an award-winning New Zealand car rental company who operate right from Queenstown Airport. They also offer easy pickups and dropoffs, handy for all types of travelers.
The great thing about Go Rentals is that their fleet is well maintained and offers a nice mix of vehicles to suit city driving and off-roading. Their staff is also friendly and has in-depth knowledge of the region. On top of that, the booking process is straightforward and transparent: You know exactly what you’re paying for before you arrive.
If you are a first-time visitor to Queenstown, a business traveler, or just someone who wants the convenience of an airport pickup and dropoff without a fuss, they’re a great option.
2. Omega Rental Cars
Omega Rental Cars has been around since 1992 and operates from 10 locations in New Zealand, including Queenstown Airport. They’re known for their good service and competitive pricing, and should be an attractive proposition to people over the age of 65, given that they offer a 10% seniors discount.
They offer a range of vehicles, including smaller cars that suit couples or solo travelers. While they don’t have as large a presence in New Zealand as some international brands, Omega’s vehicles usually offer good value. They’re perhaps best suited to those intending to do self-drive itineraries that stick mostly around Queenstown and nearby lakes.
3. Budget
Budget is a leading player in the car hire industry, and as its name suggests, it offers some of the most competitive rates for cheap car rental in Queenstown. Their fleet includes a variety of smaller cars and mid-size models that are ideal for everyday exploring.
You can often find good deals on their site, especially outside peak holiday seasons. Their airport service is known for being solid, and they make picking up a vehicle easy if you’re arriving early or late, especially if you booked through their online portal.

4. Avis
Avis brings international recognition and a broad fleet of newer vehicles to the Queenstown car rental industry.
One of the most dependable companies in this space, they offer a fleet of cars that includes everything from compact hires to larger sedans. This means their range accommodates different travel styles, such as off-roading or hitting the best beaches in New Zealand.
While prices can sometimes be higher than rivals’, some travelers like the peace of mind that comes with booking with a well-known name. Avis also offers extras like GPS and child seats for those who need them, and their customer service is very good.
5. Hertz
Hertz is another well-established name in the global car hire world. They offer a range of comfortable vehicles and enjoy a reputation for excellent customer service.
They’re a particularly good choice for those requiring larger-sized vehicles or high-end cars with premium added features. Their pickup and dropoff processes are efficient, and their insurance coverage is extensive.
6. Ezi Car Rental
Ezi is a solid choice for travelers who want safe, modern cars without fancy features. Their fleet focuses on practical vehicles that get the job done without unexpected charges.
You won’t find all the luxury extras here. But Ezi is a solid pick if you want flexible bookings and something affordable.

Choose the Car Based on the Trip
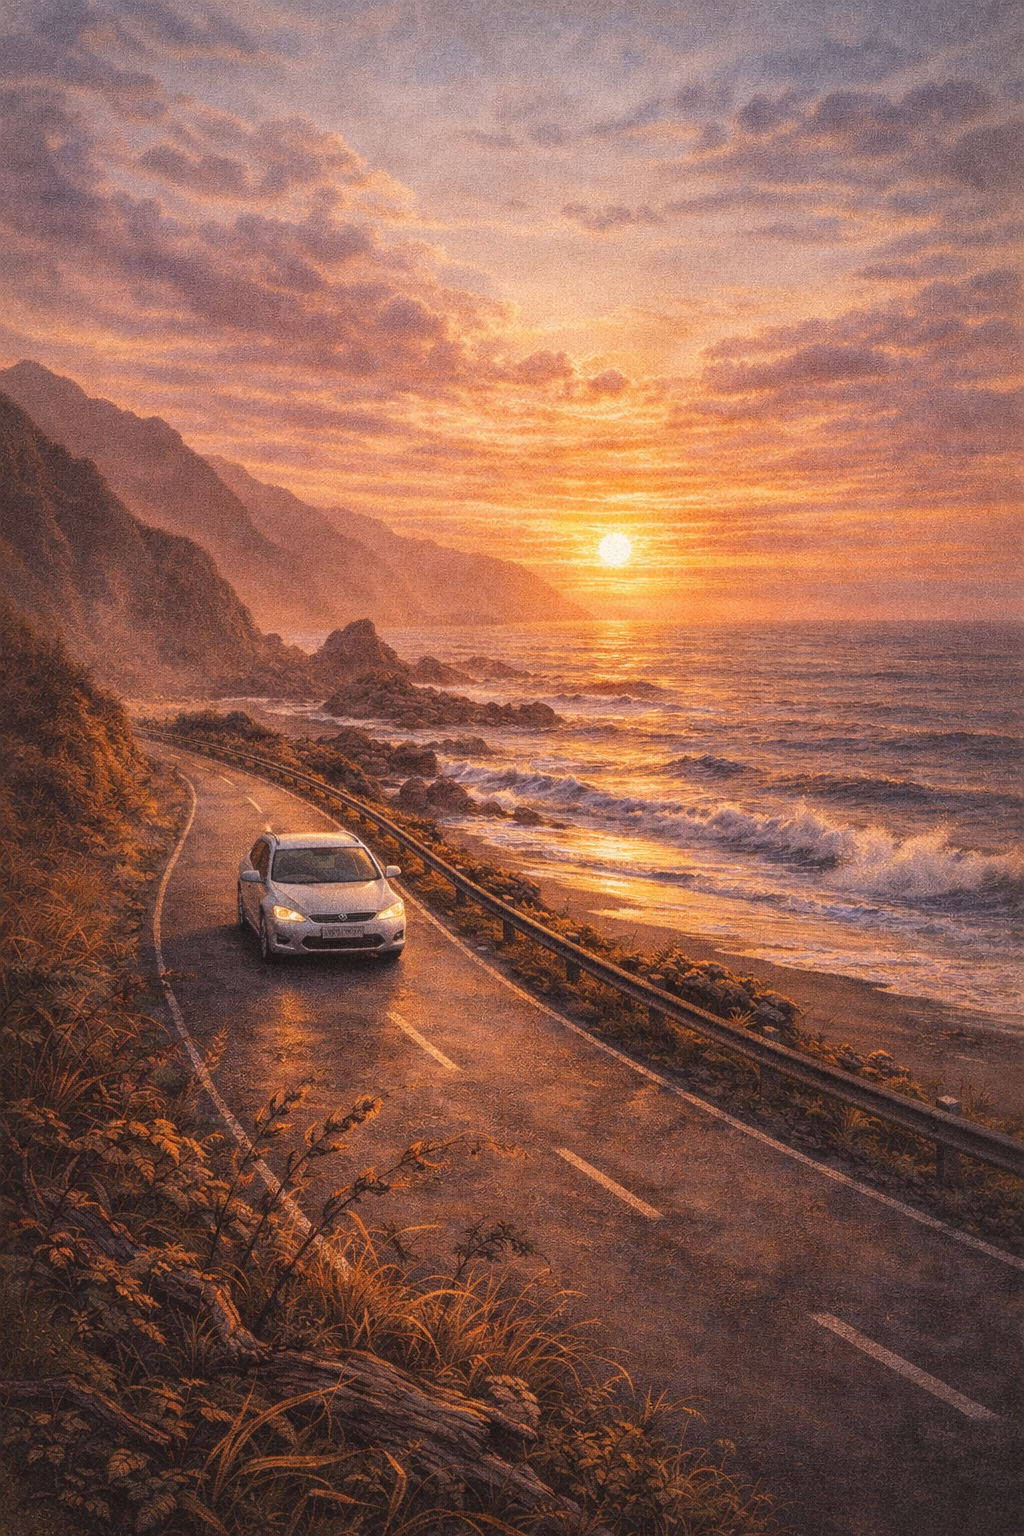
Queenstown road trips aren’t one-size-fits-all. If you’re skiing, upgrade to an SUV. If you’re spending your days at wineries and cafés, a compact is perfect. If you’re road-tripping to Glenorchy or Arrowtown (both stunning drives), comfort matters more than bells and whistles.
Renting a car in Queenstown is how you unlock the South Island’s best scenery — on your own terms. –Lucy Mitchell