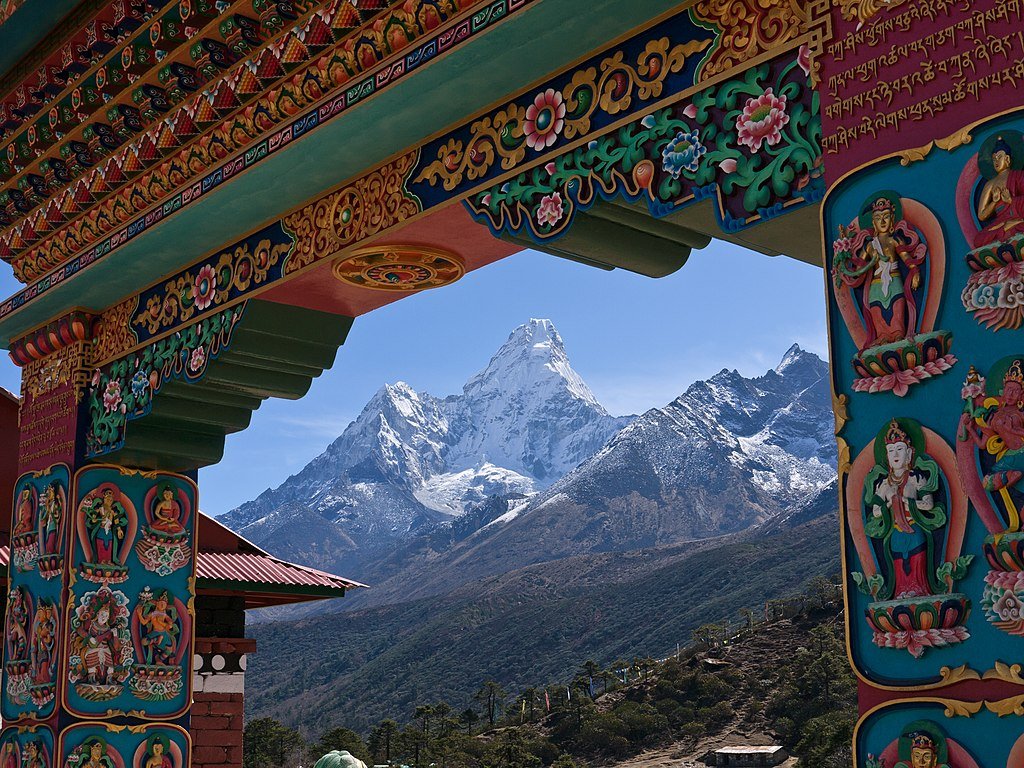
Planning to hike to Everest Base Camp? Between altitude, weather swings and two weeks of tough trekking, preparation is everything. Here’s what you need to know before you lace up and head for the Himalayas.

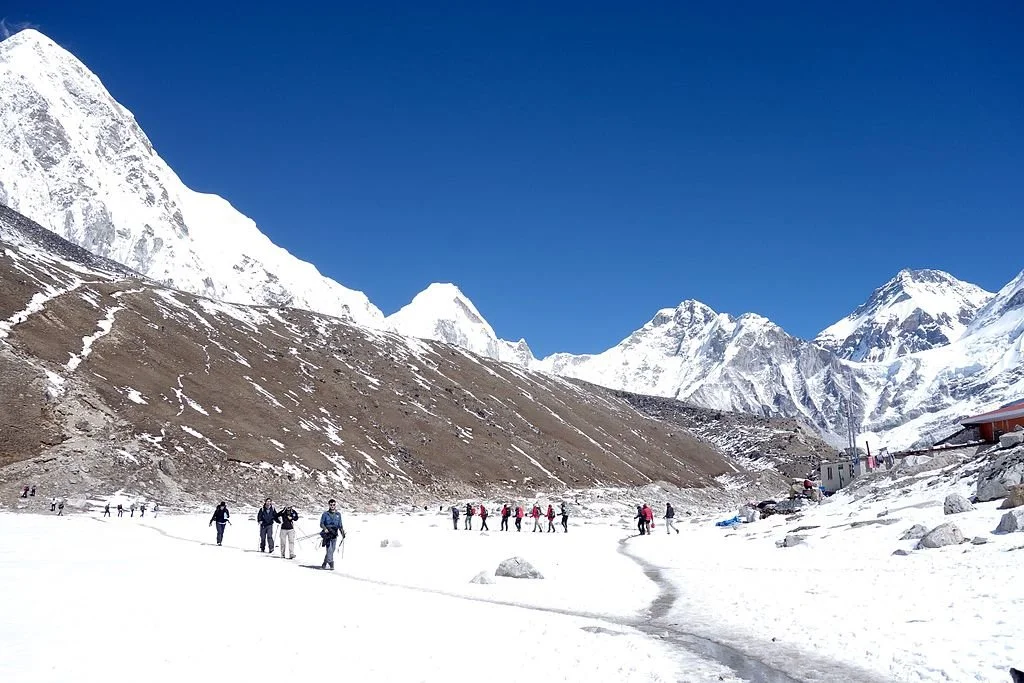
Planning a hike to Everest Base Camp is no casual stroll through the park. It’s a high-stakes adventure that tests your endurance, resilience and ability to function at oxygen-light altitudes. Sure, the views are jaw-dropping — but so are the logistics if you’re not prepared. Altitude sickness, sudden weather shifts and red tape can turn your dream trek into a long, uphill regret. That’s why planning isn’t just helpful, it’s essential.
Whether you’re heading straight to the Everest Base Camp or eyeing an alternate route, knowing what lies ahead can mean the difference between a transcendent experience and a miserable slog. From the best months to go, to the gear you’ll need and how to train without breaking yourself, here’s everything you need to know before you lace up your boots.
When is the best time to hike Everest?
Timing your Everest Base Camp trek well is half the battle. While you technically can go year-round, not all seasons are created equal.
1. Spring (March to May): Best for views and blooms
Spring is prime time. Think clear skies, blooming rhododendrons and stable weather — ideal for trail selfies and spotting Himalayan monals, the brightly colored pheasants that are the national bird of Nepal.
Daytime temps: 50°F to 59°F (10°C to 15°C) at lower elevations
Nights: Cold, especially over 4,000 meters
Sherpa tip: April is the sweet spot: fewer crowds than May, still great conditions.
2. Autumn (September to November): Peak trekking season
After the monsoon washes away the dust and haze, fall treks serve up postcard-perfect mountain views.
Similar temps to spring
Heaviest trail traffic in October
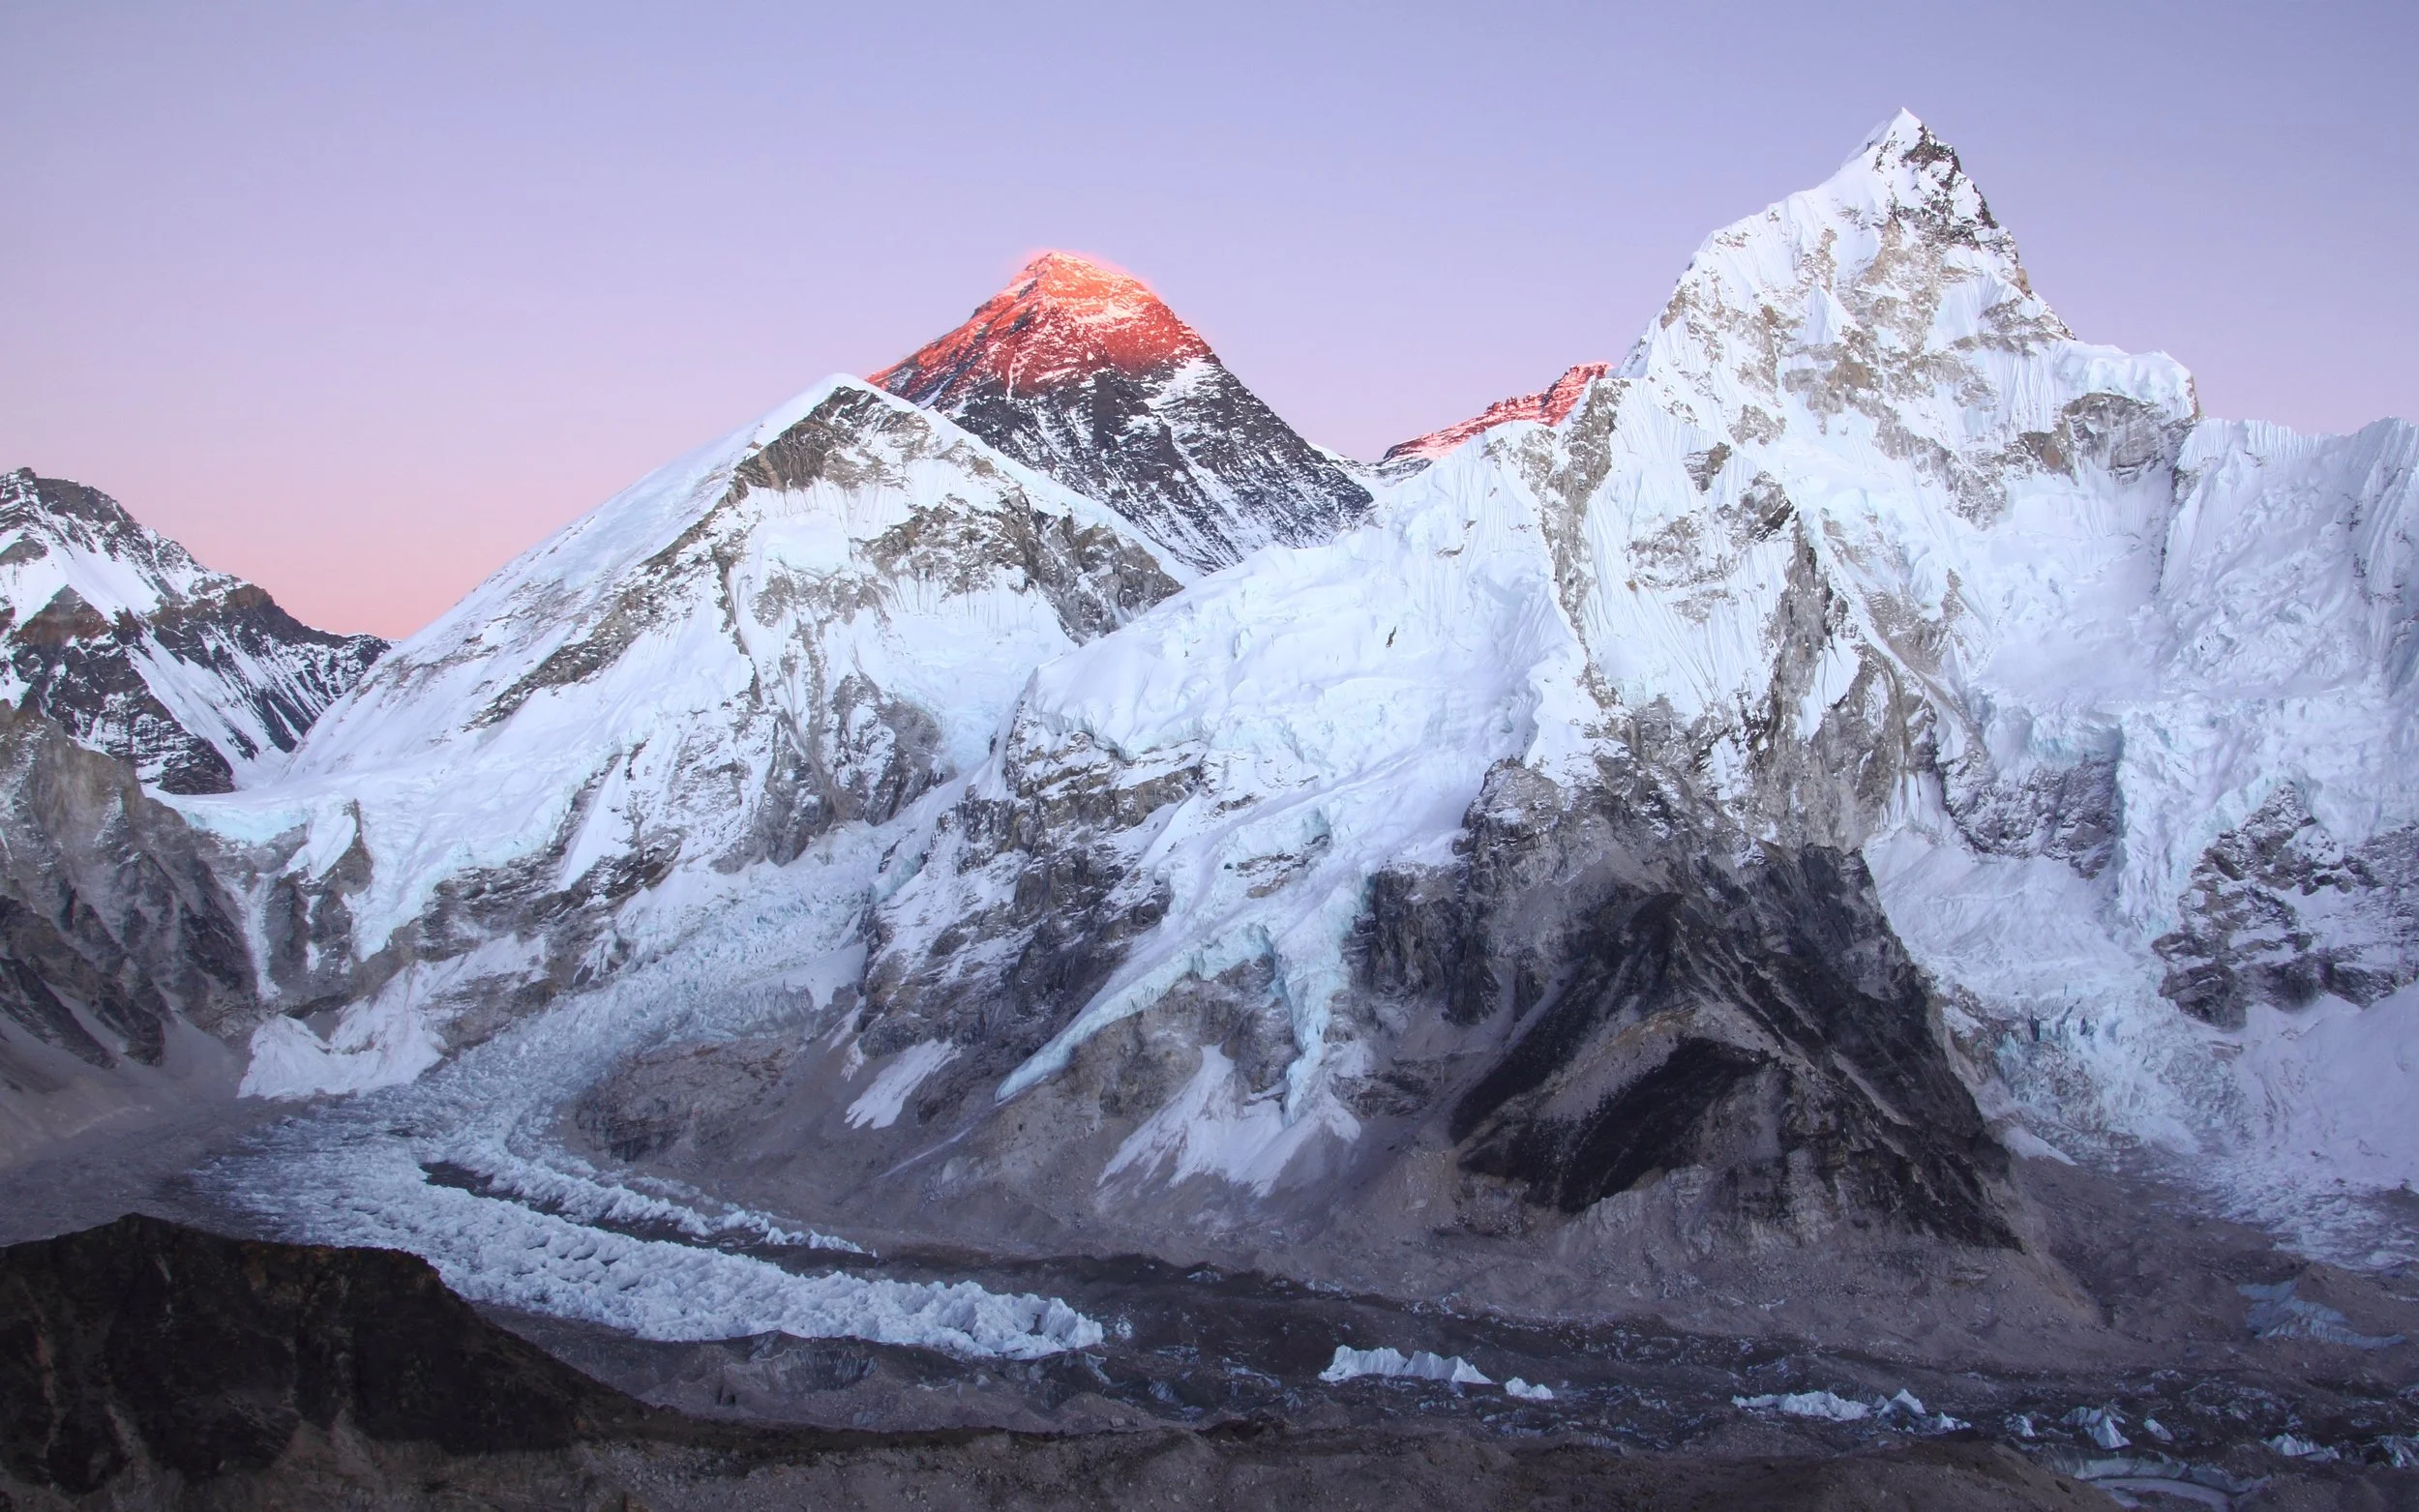
Guide insight: Late October has unbeatable Everest views. Just book early — lodges fill up fast.
3. Winter (December to February): Quiet trails, harsh conditions
If solitude calls and you’re not afraid of the cold, winter trekking has its perks. But it’s not for the faint of heart.
Temps can drop below 5°F (-15°C).
Snow may close passes and delay flights.
Expert tip: Only attempt with proper gear — think sleeping bags rated to -4°F (-20°C) or colder.
4. Monsoon (June to August): Lush, wet and leech-y
The monsoon season is a hard pass for most.
Trails are muddy and slick.
Clouds often block the mountain views.
Local advice: Only consider this season if trekking in rain-shadow regions like Mustang.

How should you prepare physically for an Everest Base Camp hike?
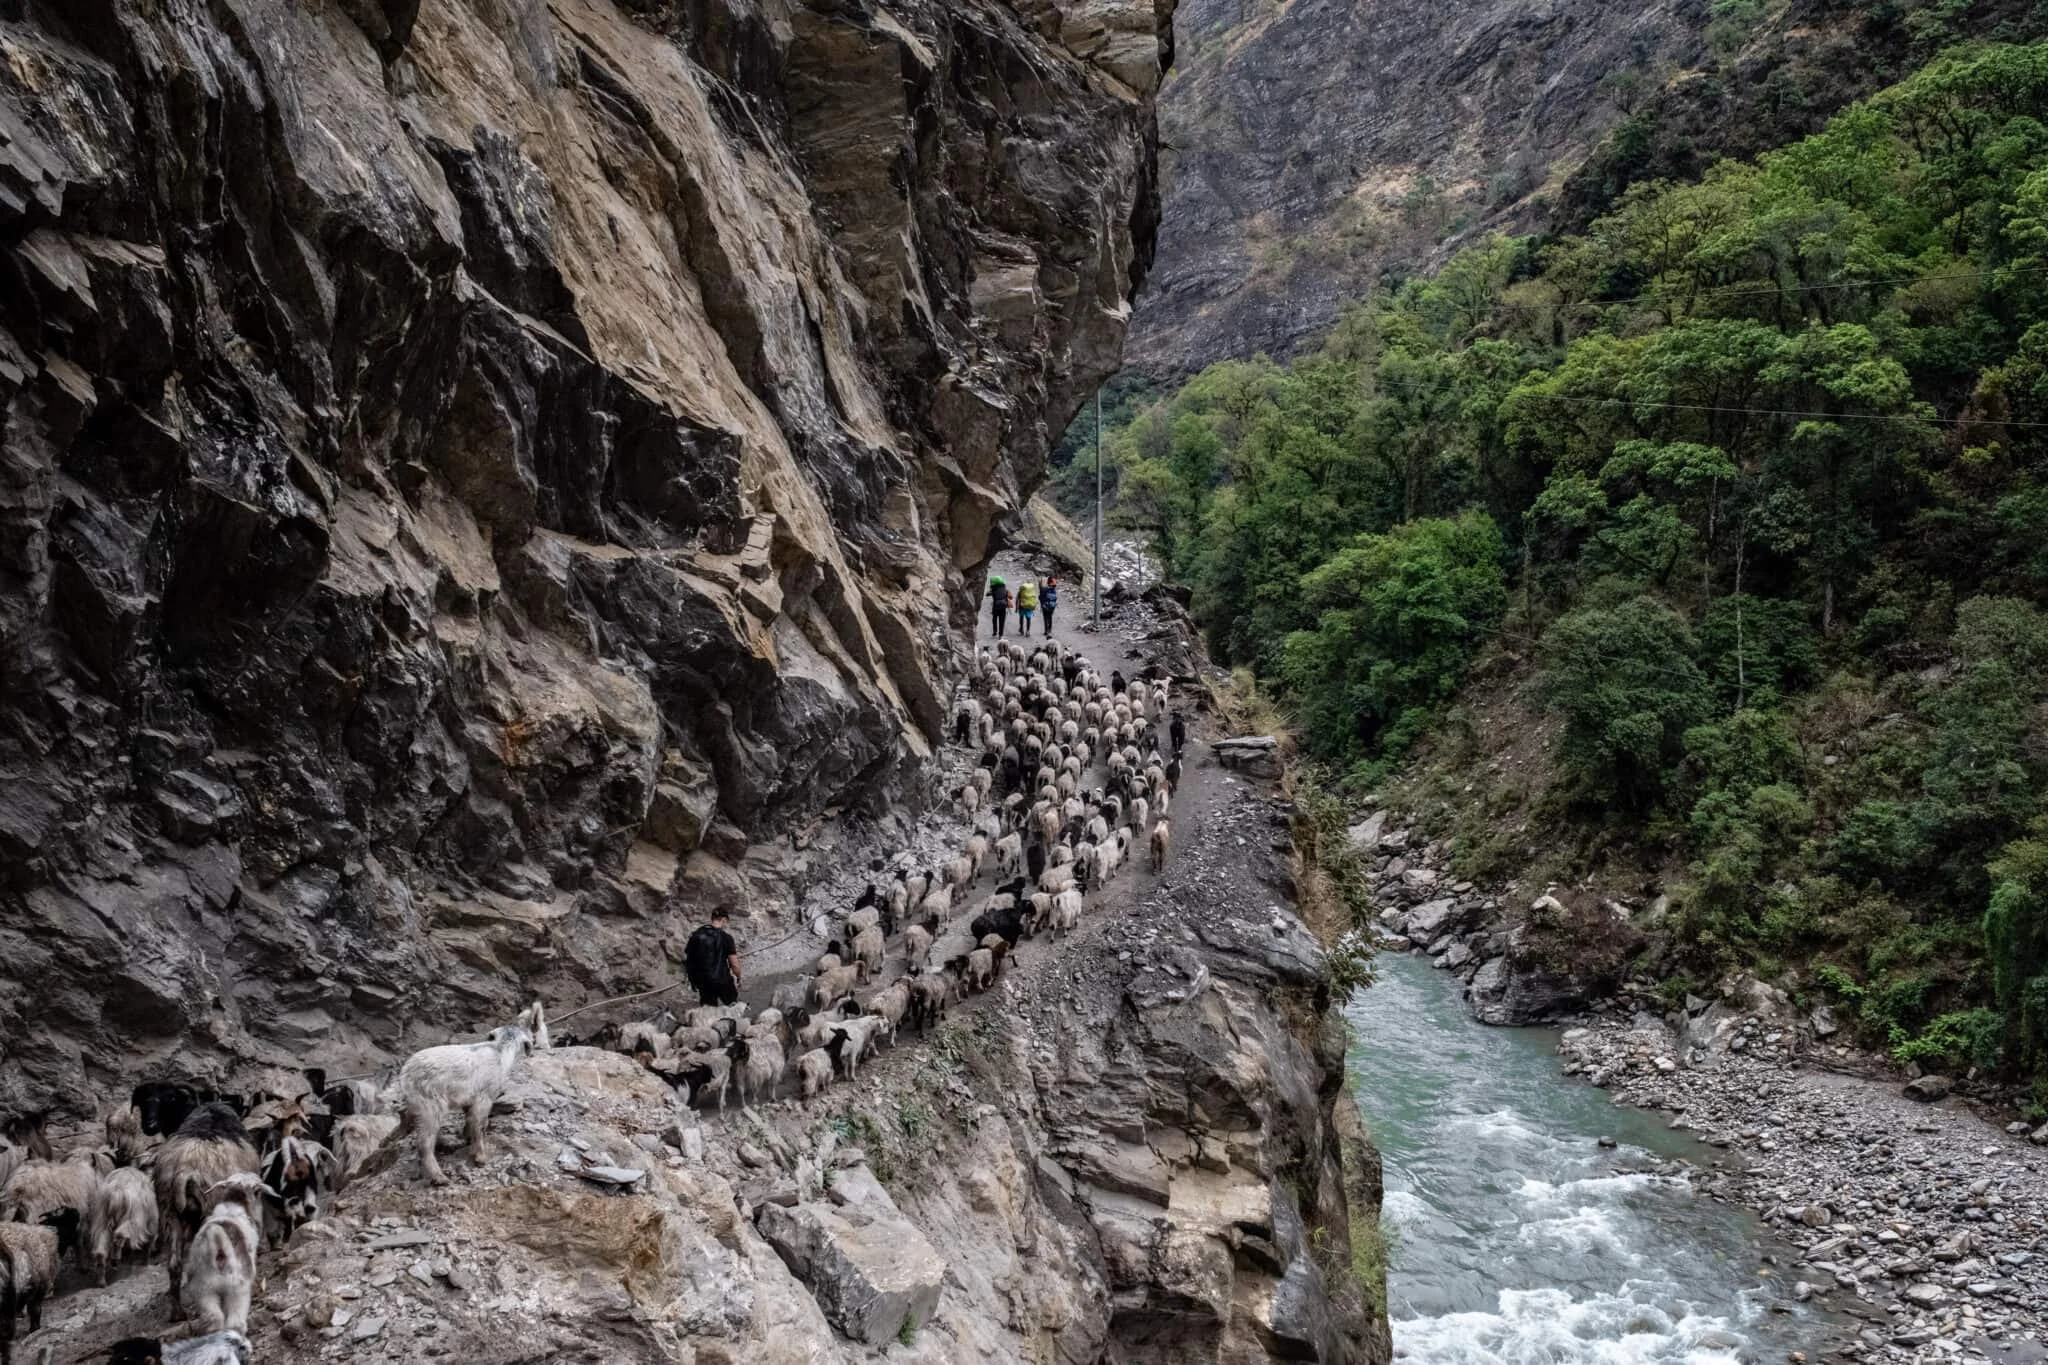
Let’s get one thing straight: Trekking to Everest Base Camp isn’t mountaineering — but it is tough. You’ll be hiking five to eight hours a day for nearly two weeks, often uphill, sometimes in thin air, and occasionally wondering what possessed you to do this for fun. Here are some tips to make the most of your adventure:
1. Focus on endurance, not speed.
This isn’t a race; it’s a test of stamina.
Build aerobic fitness with hiking, cycling or jogging three to five times a week.
Practice long hikes with a loaded backpack.
Stair climbing is your new best friend — seriously, it’s eerily similar to some of the trails.
Trek leader tip: “Go slow, rest often, and breathe deep. Rushing is the fastest way to get sick.”
2. Strength and core training help, too.
Your legs and core will take the brunt of the work — give them some love before you go.
Add squats, lunges and step-ups to your workout routine.
Planks and other core moves boost balance on uneven ground.
Don’t skip stretching — tight muscles are injury magnets.
3. Altitude acclimatization matters more than fitness.
Even if you’re in marathon shape, the altitude doesn’t care.
Build in rest and acclimatization days.
Hydrate constantly, eat well and prioritize sleep.
Learn the signs of acute mountain sickness (AMS) — some of which include headache, nausea, dizziness, fatigue, loss of appetite and insomnia.
Sherpa insight: Drink garlic soup. Locals swear by it for altitude. Can’t hurt (besides your breath)!
4. Simulate trail conditions if you can.
If you live at sea level, you’ll need to get creative.
Do weighted hikes and back-to-back long treks.
Train in your actual boots — break them in now, not on the mountain.
If you can get to high altitude before the trip, do it.
Bottom line: Consistent training will pay off. It won’t just help you reach Base Camp; it’ll help you enjoy getting there.

How do you choose the right itinerary for your Everest trek?
Picking the right itinerary is about matching the trek to your fitness, time and what you want to get out of the experience (besides sore calves and amazing photos).
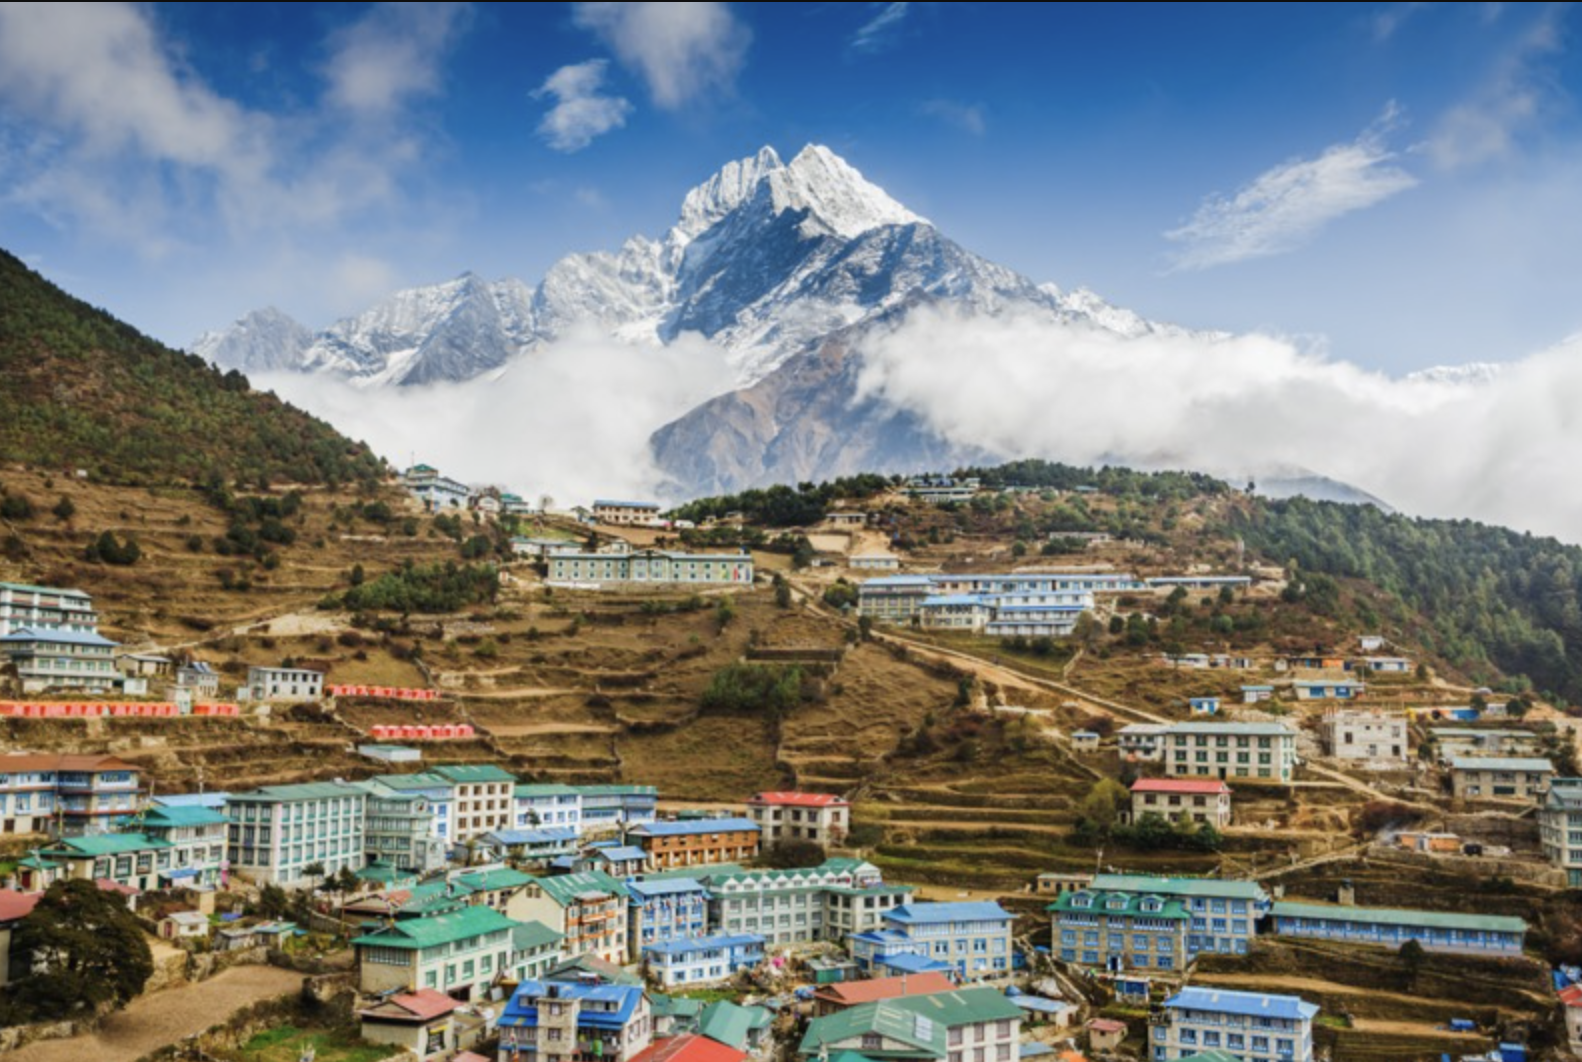
1. Classic Everest Base Camp Trek (12 to 14 days)
The “standard” route starts with that thrilling flight into Lukla and winding through Sherpa villages and high alpine valleys.
Great for first-timers with solid fitness
Teahouse accommodations with decent creature comfort
Includes a sunrise hike up Kala Patthar for front-row Everest views
Sherpa tip: Never skip acclimatization days. They’re the secret weapon to reaching Base Camp healthy and happy.
2. Gokyo Lakes and Cho La Pass Route (16 to 18 days)
Want a little more adventure and a little less crowd? This one’s for you.
Crosses the dramatic Cho La Pass (expect a little scrambling)
Passes turquoise lakes and the Ngozumpa Glacier
Reconnects with the classic trail near Lobuche
Guide insight: Perfect for strong hikers or those coming back for round two.
3. Jiri to Everest Base Camp (20+ days)
Feeling old-school? Follow the original path of early Everest expeditions — before Lukla’s airport existed.
Adds 6 to 8 days of lush mid-hill trekking
Builds in natural acclimatization with a slow, steady climb
Deeper look at rural Nepalese life away from touristy trails
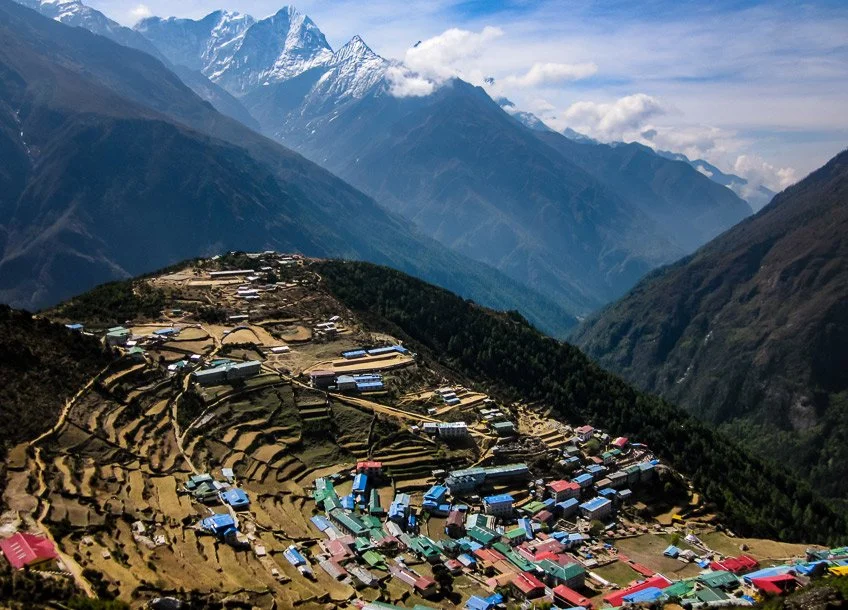
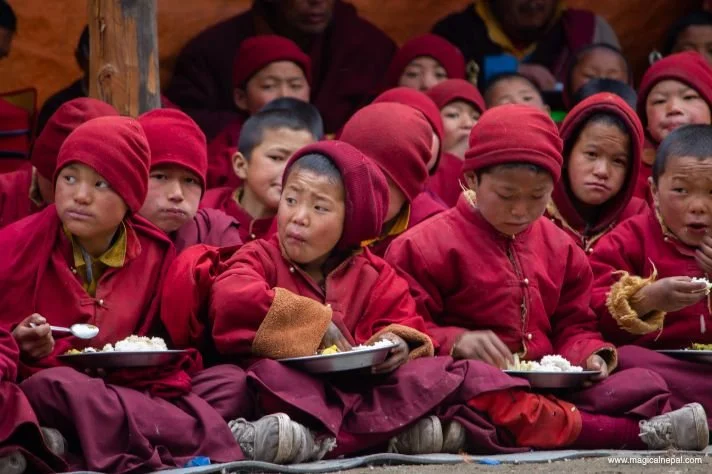
Local advice: Expect basic lodges early on — but also some of the most authentic cultural experiences.
Itinerary planning tips:
Always build in 2 to 3 extra days for weather delays or recovery.
Stick to the “climb high, sleep low” rule to help your body adjust.
Consider hiring a local guide — they’re game-changers for logistics, safety and connecting with the culture.
Pick a route that fits your pace, not your ego. Base Camp is a milestone, but the journey is where the real magic happens.
What permits and documents are required for the Everest trek?
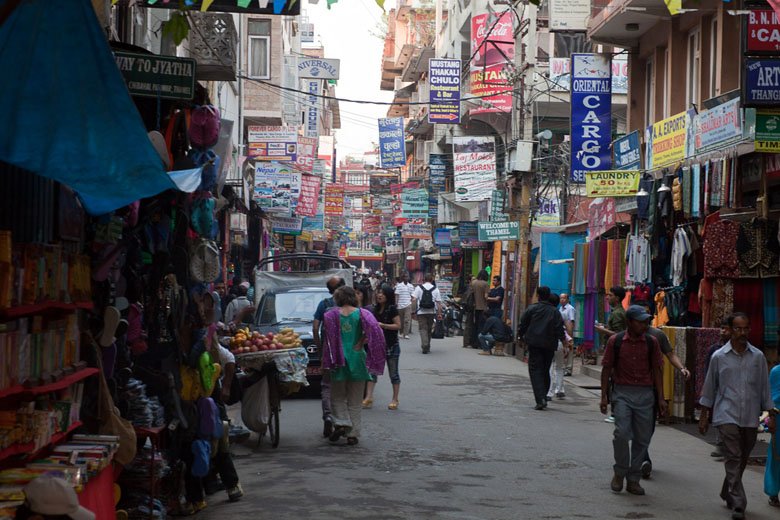
You can’t just show up with hiking boots and a grin — there’s paperwork involved. Fortunately, it’s not too complicated once you know what’s required.
1. Khumbu Pasang Lhamu Rural Municipality Permit
This local permit funds development in the Everest region and replaced the old TIMS card system.
Cost: 2,000 Nepalese rupee, or currently about $15, per person (first four weeks)
Buy it in Lukla or Monjo (easy-peasy after you land)
Sherpa insight: Most guides handle this for you, but if you’re trekking solo, get it done at Lukla airport.
2. Sagarmatha National Park Entry Permit
Because you’re trekking through a national park — and Everest’s backyard doesn’t maintain itself.
Cost: NPR 3,000, or about $23, per person for foreigners
Grab it in Kathmandu or at the park gate in Monjo
Guide tip: Save time by getting the permit in Kathmandu if you can — one less thing to stress about at the trailhead.
3. Gaurishankar Conservation Area Permit (for Jiri Route only)
If you’re taking the long way via Jiri, you’ll need this extra permit.
Cost: NPR 2,000 ($15)
Only necessary if you’re starting below Lukla
Issued in Kathmandu at the National Trust for Nature Conservation (NTNC) office
Required documents checklist:
Valid passport (at least 6 months before expiration)
2 to 4 passport-sized photos (for permits)
Cash in Nepali rupees for permit fees
Pro tip: Keep your permits handy — you’ll flash them at multiple checkpoints. (Lose them, and you might be turned back. Not fun.)

What gear and equipment do you need for the Everest hike?
There’s no bad weather, only bad gear. On Everest trails, the weather can go from “sunburn season” to “snowpocalypse” in the time it takes to eat a granola bar. Smart packing is survival.
1. Layered clothing
The mountain demands flexibility. Dress like an onion: Peel or add layers as needed.
Base layer: Moisture-wicking thermal tops and bottoms
Mid layer: Fleece jacket or lightweight down sweater
Outer shell: Waterproof, windproof jacket and pants
Extras: Warm hat, neck gaiter, insulated gloves, UV-protective sunglasses
Sherpa tip: Bring a buff or scarf — perfect for battling wind, sun and the occasional yak dust storm.
2. Footwear and trekking essentials
Your boots are your best friends — or worst enemies if you don’t break them in first.
Waterproof trekking boots with ankle support (broken in, not brand new!)
Lightweight camp shoes or sandals for evenings
Wool or synthetic socks (plus spares to rotate)
Trekking poles for downhill stability (your knees will thank you)
Guide advice: Even if you feel young and invincible, use the poles. They’ll save your joints for future adventures.
3. Sleeping and personal gear
Teahouses provide beds and blankets, but you’ll need extra warmth at night.
Sleeping bag rated to at least -15°C, or 5ºF (or colder)
35- to 50-liter backpack for your daily essentials
Headlamp with extra batteries (early starts are a thing)
Water bottles plus purification tablets or filters
Local insight: Purify all water. Bottled water is expensive, wasteful and often unavailable past Namche.
4. Optional but useful items
Microspikes or lightweight crampons (for winter treks)
Power bank or solar charger
Quick-dry towel and toiletries
Your favorite trail snacks (trust me, you’ll crave familiar tastes)
Packing smart means fewer worries — and more time gawking at Everest without numb fingers or blisters stealing the show.
Alternatives to the Everest Hike: Explore Other Iconic Treks in Nepal
Dreaming of the Himalayas, but not feeling the Everest traffic jam? Nepal’s got options — plenty of them — and some are just as epic (without the crowds).
Manaslu Circuit Trek: Remote and culturally rich
If you want adventure and authenticity, Manaslu delivers.
Duration: 14 to 18 days
Max altitude: 5,160 meters at Larkya La Pass
Special permit and guide required (it’s a restricted area)
Local insight: Think traditional villages, Tibetan influences and lodges that feel a world away from commercial trekking routes.
Annapurna Base Camp (ABC): Shorter and scenic
Want killer mountain views without hitting extreme altitudes? Annapurna’s your trail.
Duration: 7 to 11 days
Max altitude: 4,130 meters
A lush mix of jungle, terraced fields and jaw-dropping peaks
Langtang Valley Trek: Close to Kathmandu, big on heart
After the 2015 earthquake, Langtang rebuilt — and it’s more welcoming than ever.
Duration: 6 to 9 days
Max altitude: 4,984 meters (Tserko Ri summit)
Deep cultural immersion with the Tamang community
Why consider alternatives?
Fewer crowds = more peaceful trails
Simpler logistics and lower costs
A deeper connection to Nepalese culture and landscapes
Choosing an alternative doesn’t mean settling. It means opening yourself up to trails just as soul-stirring — and maybe even more memorable.

Final Thoughts: Your Everest Hike Starts With Smart Planning
Trekking to Everest Base Camp is going to be a bucket-list brag and one of those top life experiences. And like any great adventure, it rewards those who plan smart, pace themselves and stay flexible when the mountain inevitably throws a curveball.
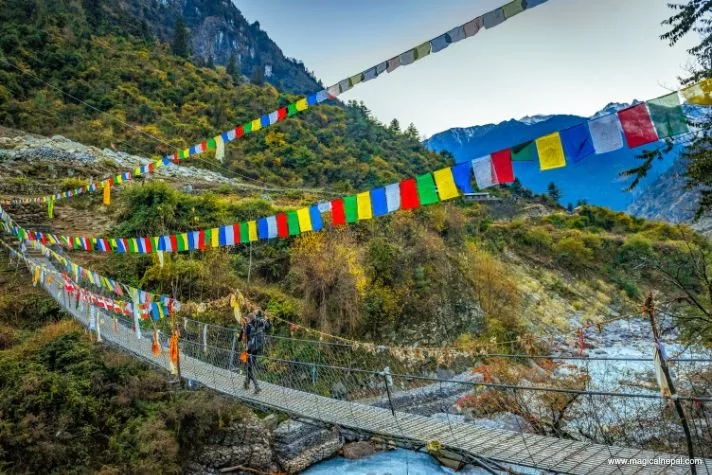
From picking the right season to training your body, from securing the right permits to packing gear that can handle a Himalayan weather tantrum, every choice you make now sets you up for success later. Preparation means freeing yourself to fully soak in the magic of the trail, the villages, the prayer flags whipping in the wind, and that first surreal glimpse of Everest itself. It can also mean survival.
Whether you end up at Base Camp or exploring a quieter circuit like Manaslu or Annapurna, one thing’s certain: The Himalayas will leave a mark on you. (And it won’t just be sore calves.)
Ready to start planning? Lace up, dream big and let the mountains handle the rest. –Sulabh Basnet